


Camera: How To
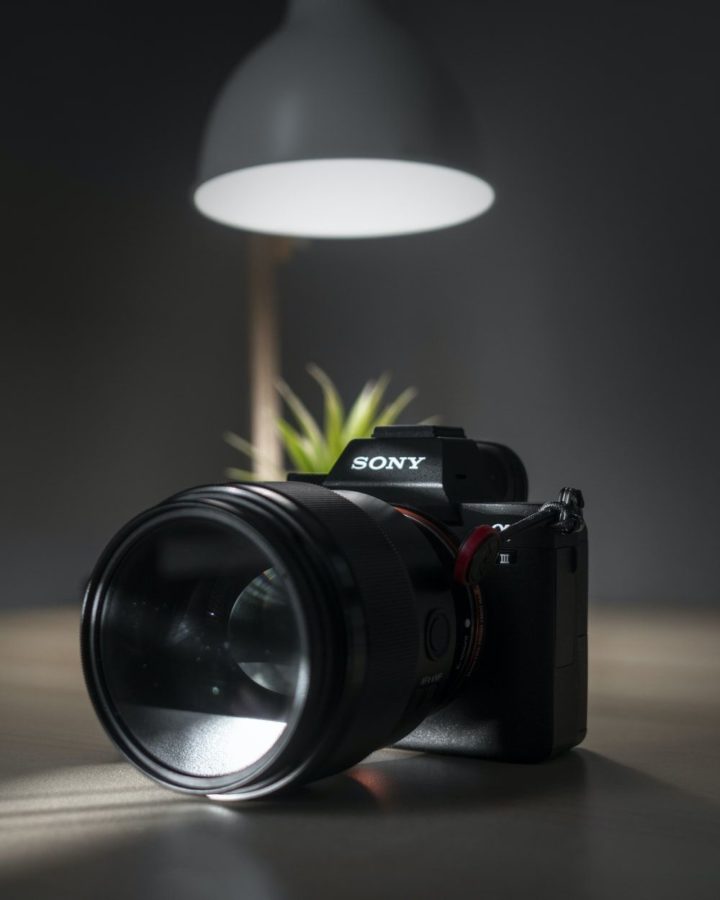
Almost, if not everyone, has used a camera before. Whether it’s for a selfie, a landscape, or just recording a random memory, a camera is a fantastic way to immortalize history, or maybe just that funny thing your friend did. Although most people have used a camera, not everyone uses a professional camera, and even less of those users use the manual mode, but manual mode can make the difference between a professional picture and a blurry messed up one. Lucky for everyone, it isn’t necessary to use a professional camera, help as it may, but it’s really about understanding the fundamentals of what a camera is doing in the process of taking a picture.
The biggest and most important part of taking a picture is lighting. Think of your camera as a bucket, and light as water. Your bucket has a fixed capacity, but you can change how much water goes in. If there is too much water in the bucket, then it overflows. If there are a couple drops, you don’t even cover the whole bottom of the bucket. Similarly, if there is too much light going into the camera, then the image is washed out, and if there is too little light, then the image is too dark. If you get the right amount of water, then the bucket is filled perfectly. Get the right amount of light for your camera, then you’re already on your way to a good picture.
Although it can be hard to find places with the right amount of light, there is hope yet. Depending on the camera, usually a camera with manual mode capabilities (every professional camera and now most smart phones) there are three different settings that can control the amount of light going into the camera’s sensor. ISO, Aperture, and shutter speed. Now I know those are some fancy words, but they’re not as bad as they seem. ISO is the sensitivity of the camera’s sensor. The higher the ISO the brighter the overall image will be, but get too high, and there will be noise in the image. Going back to the water and bucket example, the ISO can alter the size of the bucket to a certain degree. If the environment is too bright, bring the ISO down to counteract it. If it’s dark, then bring the ISO up to make the image brighter. The problem is, you can only stretch the bucket so much until the water is just too much for the structural integrity of the bucket. Make the ISO too bright and the image will have noise (all those tiny colorful dots on top of the image).
Another form of light control is the aperture. Although aperture, commonly measured in f/stops, can also control light, it’s fulfilling a different purpose than ISO. Aperture controls the depth of field in one’s image. You know how some really cool portrait pictures of people have really clear foreground (subject) and a blurry background. How depth of field works is controlling the amount of light coming through the lens in order to control the aperture of the image. For a quick example of aperture, hold a pencil or pen 5-8 inches away from your face while facing something on a wall or anything in the distance then close one eye and focus on the pencil. Notice how the background is blurry. Now focus on something in the background, notice how the pencil is blurry? That’s what aperture is controlling. The smaller the number, the more the lens opens up ie; f/1.4, f/2.8, f/4 and larger numbers mean smaller lens opening ie; f/10, f/15, f/22. The wider the aperture, the more blurry the background is, the brighter the overall image will be. The tighter the opening is, more things will be in focus but the overall image will be darker. You can use ISO to balance things out, but there’s still one more thing to cover.
Shutter speed is pretty straightforward. It controls the amount of time that the sensor is exposed to light. The longer the exposure, the brighter the image will be, but exposure time also controls motion blur. The best way to explain this in action is by example. If you’re trying to take a picture of a moving subject, you’ll want to use a fast shutter, measured in seconds, such as 1/100 or 1/250. For stills or long exposures, you’ll want to use a slightly longer exposure time, such as 1/50, or 1/40.
Basically, Aperture controls the amount of light coming into the camera through the lens, Shutter is how long the sensor is exposed to light, and ISO controls how sensitive the sensor itself is. Not all forms of light control are created equal. They are however created in conjunction with each other. The order of light control should be corrected by the following: Aperture, then Shutter, and finally ISO. It is imperative that you adjust the ISO last as ISO, if done incorrectly, can bring in the most amount of noise/grain in the frame.
Good luck prospective photographers on all your creative endeavors!
Your donation will support the student journalists of Ames High School, and Iowa needs student journalists. Your contribution will allow us to cover our annual website hosting costs.
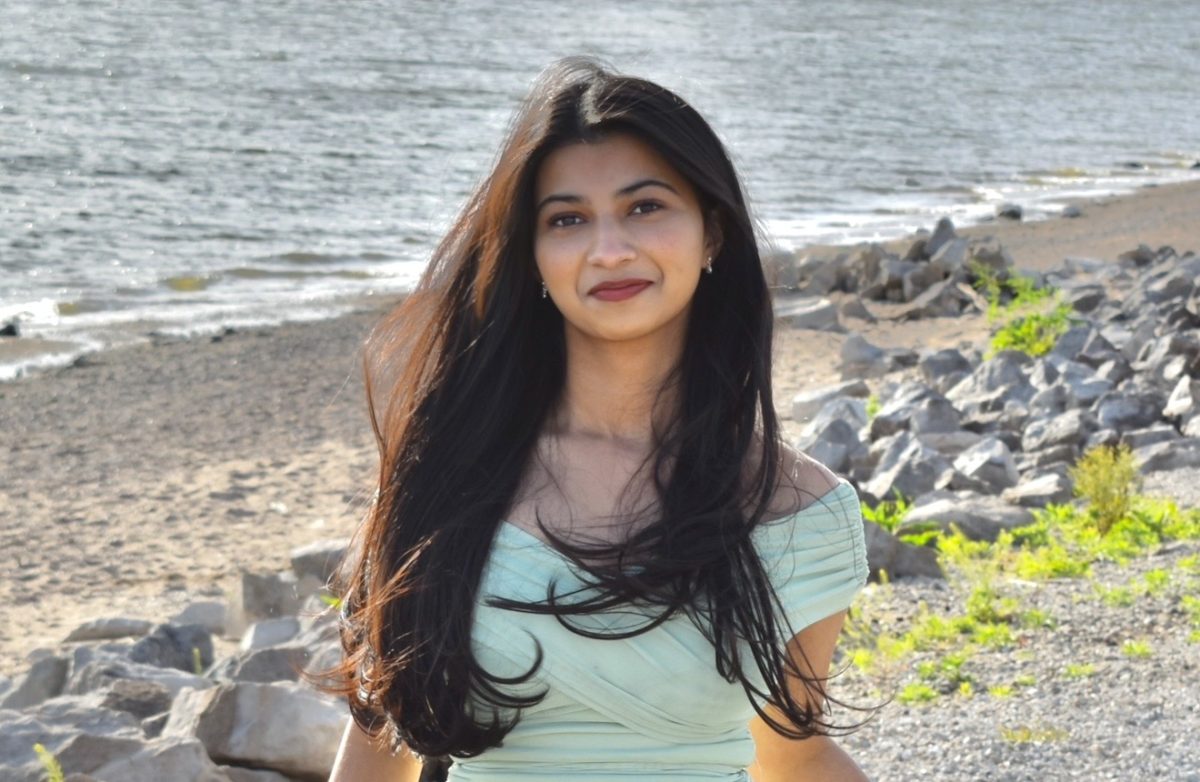
Humza Maqsood is a Senior at Ames High. He swims for Ames High and likes to play table tennis for fun. He really enjoys watching movies and is also a member...